We will set up Next.js 13 App router along with NextAuth.js Authentication. This article follows Cirno's Sketch Protocol, ensuring a clear and simple tutorial.
Goal
- Prepare Next.js 13 App directory
- Setup NextAuth.js (or Auth.js)
- Get session data in
server components/client components/api routes
Setting up the Next.js Project
Use one of these commands to create a Next.js app. Skip if you already have your project.
pnpm create next-app nextauth-nextjs13-prisma
# or
yarn create next-app nextauth-nextjs13-prisma
# or
npx create-next-app@latest nextauth-nextjs13-prisma
You will be prompted to enter a couple of options. Here is what I recommend:
- Would you like to use TypeScript? Yes
- Would you like to use ESLint? Yes
- Would you like to use Tailwind CSS? Yes
- Would you like to use
src/directory? Yes - Would you like to use App Router? (recommended) Yes
- *Would you like to customize the default import alias (@/*)? *No
Setting up NextAuth API Route
Install Package
Use one of these commands to install NextAuth.js
pnpm add next-auth
# or
npm i next-auth
# or
yarn add next-auth
Create config file
Create /src/lib/auth.ts file, and paste these code in:
import type { NextAuthOptions } from "next-auth";
import CredentialsProvider from "next-auth/providers/credentials";

export const authOptions: NextAuthOptions = {
  session: {
    strategy: "jwt",
  },
  providers: [
    CredentialsProvider({
      name: "Sign in",
      credentials: {
        email: {
          label: "Email",
          type: "email",
          placeholder: "example@example.com",
        },
        password: { label: "Password", type: "password" },
      },
      async authorize(credentials) {
        const user = { id: "1", name: "Admin", email: "admin@admin.com" };
        return user;
      },
    }),
  ],
};
Here we used the CredentialsProvider provider from NextAuth. You can check out other providers on the Official Website. Here we are skipping the check step in the database, so any username and password will be able to sign you in.
Create route file
Create /src/app/api/auth/[...nextauth]/route.ts and paste the code in:
import { authOptions } from "@/lib/auth";
import NextAuth from "next-auth";

const handler = NextAuth(authOptions);
export { handler as GET, handler as POST };
Create env file
Create a .env file under the root of your project, please change the secret to a secure one when using in production:
NEXTAUTH_SECRET=your_super_secure_secret
NEXTAUTH_URL=http://localhost:3000
Create reusable buttons (for demonstration purposes)
Create a /src/components/buttons.tsx file:
"use client";

import { signIn, signOut } from "next-auth/react";
import Link from "next/link";

export const LoginButton = () => {
  return (
    <button
      onClick={()=> signIn()}
      className={"bg-gray-400/50 px-5 py-3 rounded-2xl"}
    >
      Sign in
    </button>
  );
};

export const RegisterButton = () => {
  return (
    <Link href={"/register"} className={"bg-gray-400/50 px-5 py-3 rounded-2xl"}>
      Register
    </Link>
  );
};

export const LogoutButton = () => {
  return (
    <button
      onClick={()=> signOut()}
      className={"bg-gray-400/50 px-5 py-3 rounded-2xl"}
    >
      Sign Out
    </button>
  );
};

export const ProfileButton = () => {
  return (
    <Link href={"/profile"} className={"bg-gray-400/50 px-5 py-3 rounded-2xl"}>
      Profile
    </Link>
  );
};
Display the buttons on the home page
Edit /src/app/page.tsx and replace all the content with the following:
import {
  LoginButton,
  LogoutButton,
  ProfileButton,
  RegisterButton,
} from "@/components/buttons";

export default async function Home() {
  return (
    <main
      className={
        "flex flex-col items-center justify-center min-h-screen py-2 gap-8"
      }
    >
      <div className={"flex flex-row gap-4"}>
        <LoginButton />
        <RegisterButton />
        <LogoutButton />
        <ProfileButton />
      </div>
    </main>
  );
}
Now you can start the development server and go to http://localhost:3000/
It will look like this:
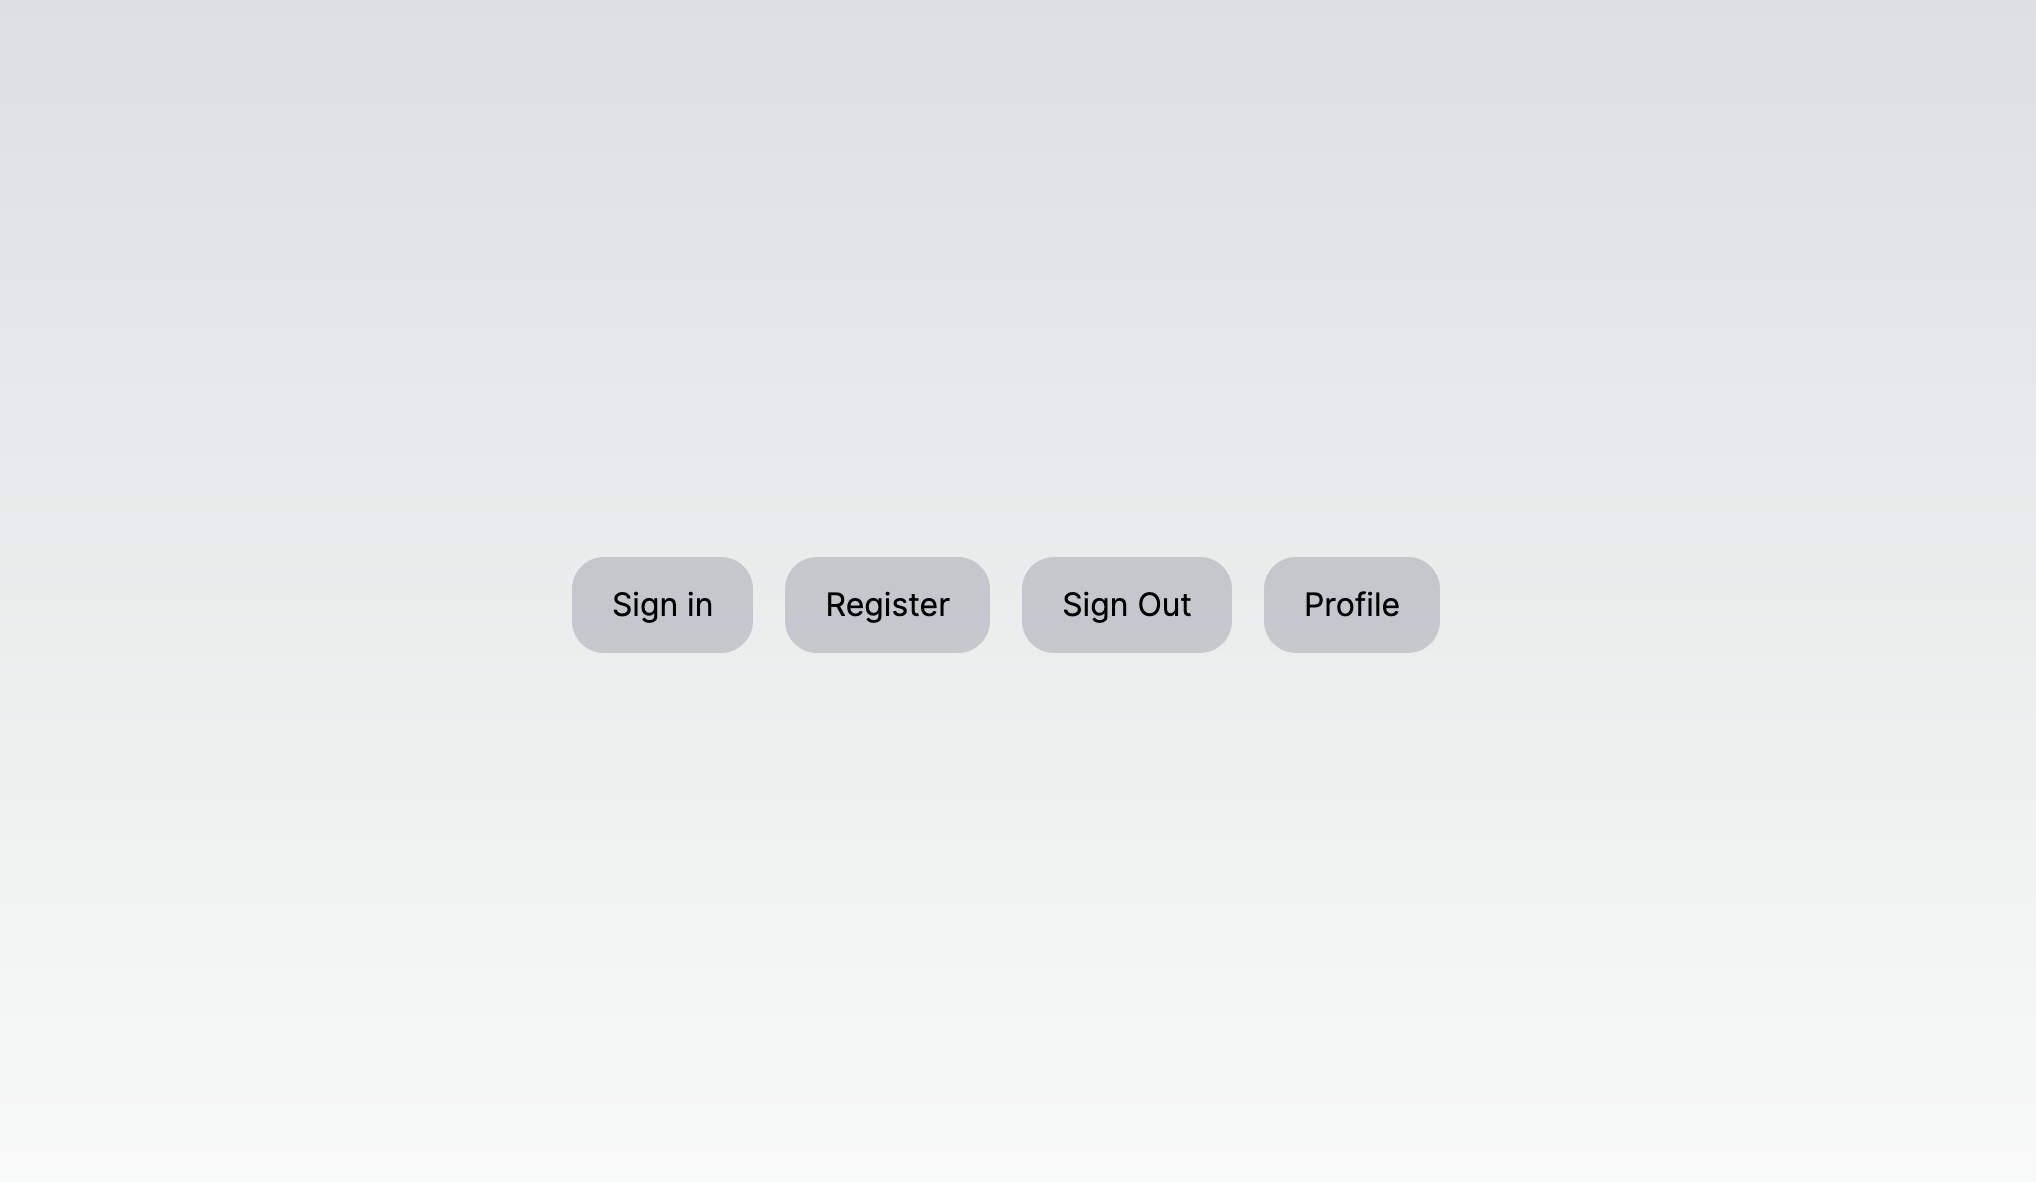
- Click
Sign InButton, it will redirect you to the sign-in page. - Enter any random username and password.
- You will be able to sign in and be redirected to the home page.
To view the cookies, use the application tab of your developer console.
Get NextAuth session data
Now the setup is complete, we need a way to get your session data and use it.
Get the session in a Server Component
You can get the session data in a React Server Component by calling getServerSession with the authOptions object we created before.
Navigate to your /src/app/page.tsx and replace all with the following:
import {
  LoginButton,
  LogoutButton,
  ProfileButton,
  RegisterButton,
} from "@/components/buttons";

import { getServerSession } from "next-auth"; // add this
import { authOptions } from "@/lib/auth"; // add this

export default async function Home() {
  const session = await getServerSession(authOptions); // add this

  return (
    <main
      className={
        "flex flex-col items-center justify-center min-h-screen py-2 gap-8"
      }
    >
      <div className={"flex flex-row gap-4"}>
        <LoginButton />
        <RegisterButton />
        <LogoutButton />
        <ProfileButton />
      </div>

      {/*add this*/}
      <div className="flex flex-col gap-2">
        <div className={"flex flex-col gap-2"}>
          <h1 className={"font-bold"}>NextAuth.js Server Session data</h1>
          <pre>{JSON.stringify(session, null, 2)}</pre>
        </div>
      </div>
    </main>
  );
}
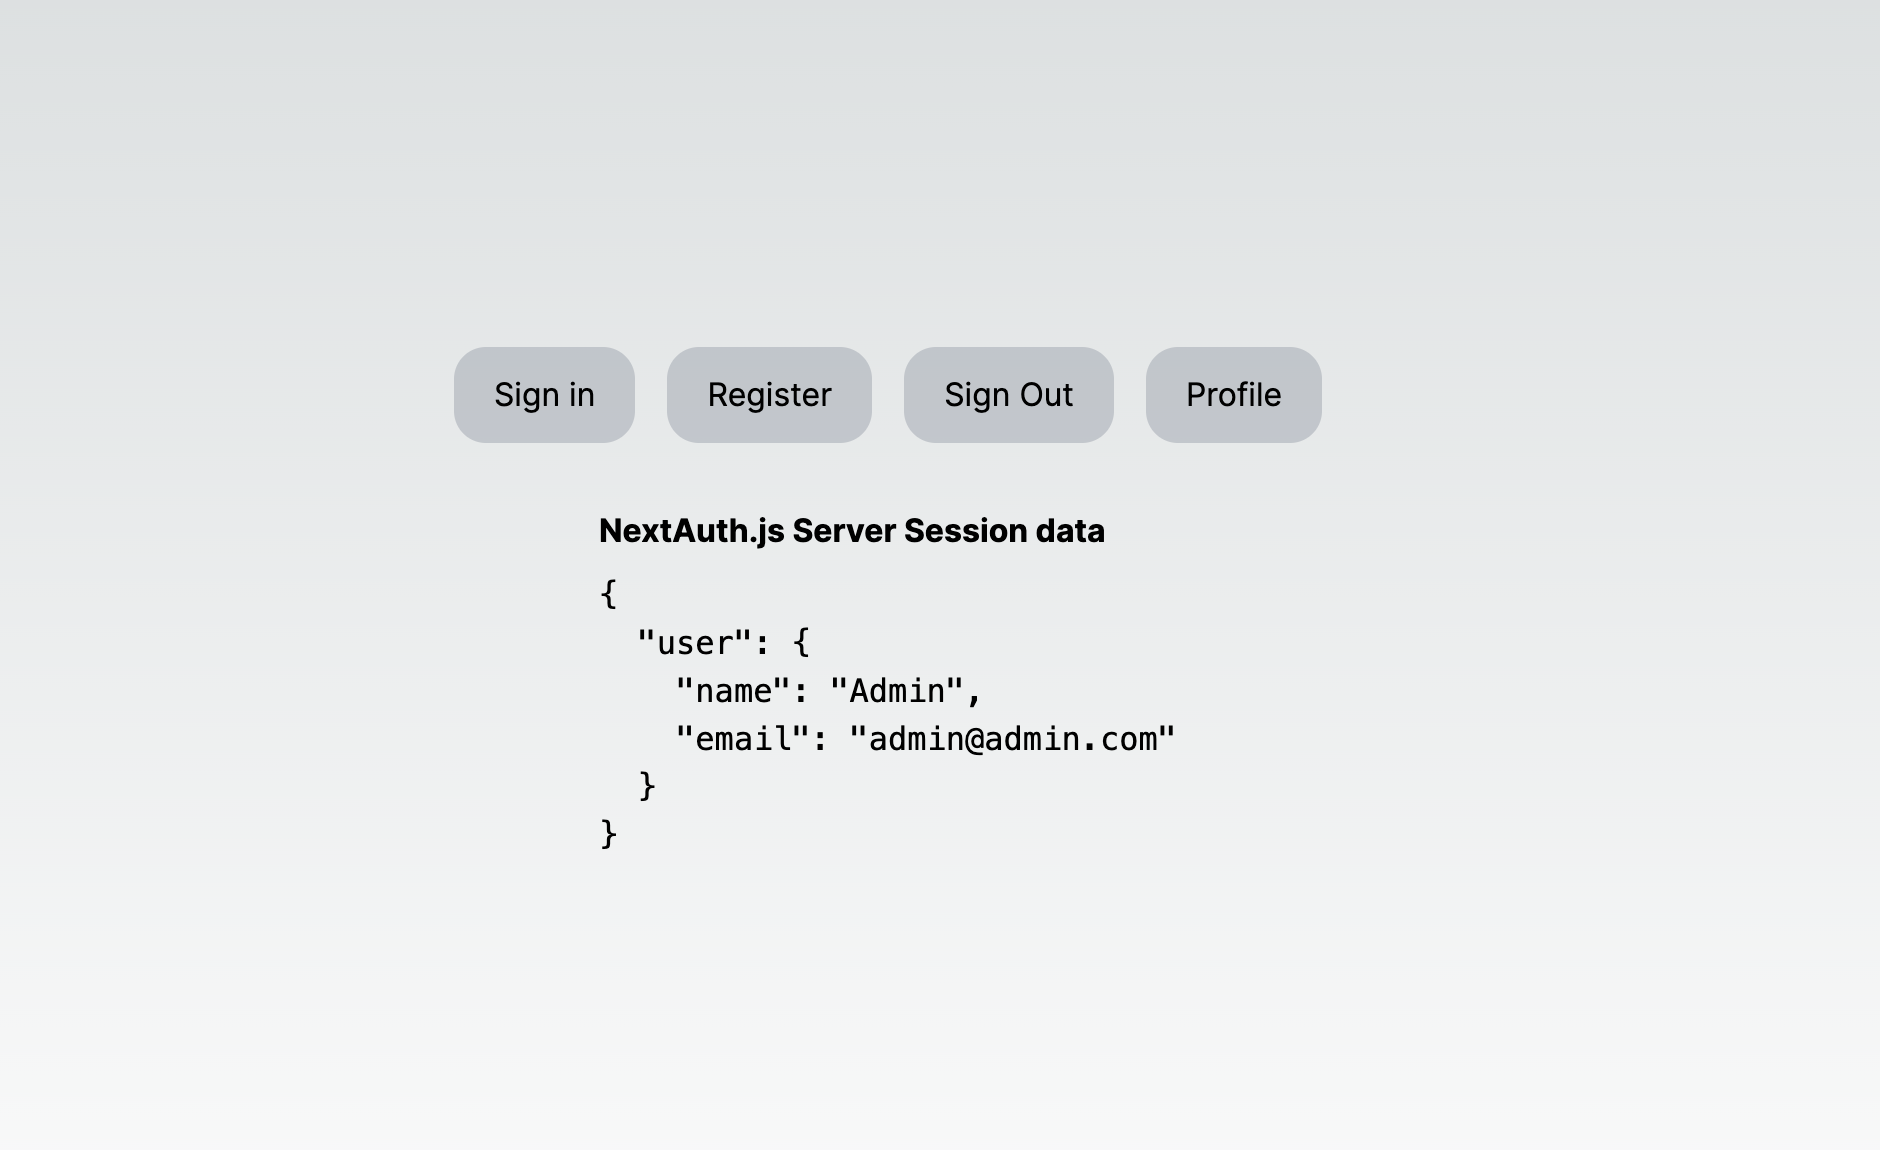
We used const session = await getServerSession(authOptions); to get the server session and display it in a div.
Now go to your browser, you will be able to see the server session like this:
Get the session in Route Handlers (API)
Next.js 13 introduced Route Handlers, which is equivalent to pages routes’ api route. Route handlers operate on the server, so we will still use getServerSession with authOptions.
Create /src/app/api/session/route.ts:
import { getServerSession } from "next-auth";
import { authOptions } from "@/lib/auth";
import { NextResponse } from "next/server";

export async function GET(request: Request) {
    const session = await getServerSession(authOptions);

    return NextResponse.json({
        authenticated: !!session,
        session,
    });
}
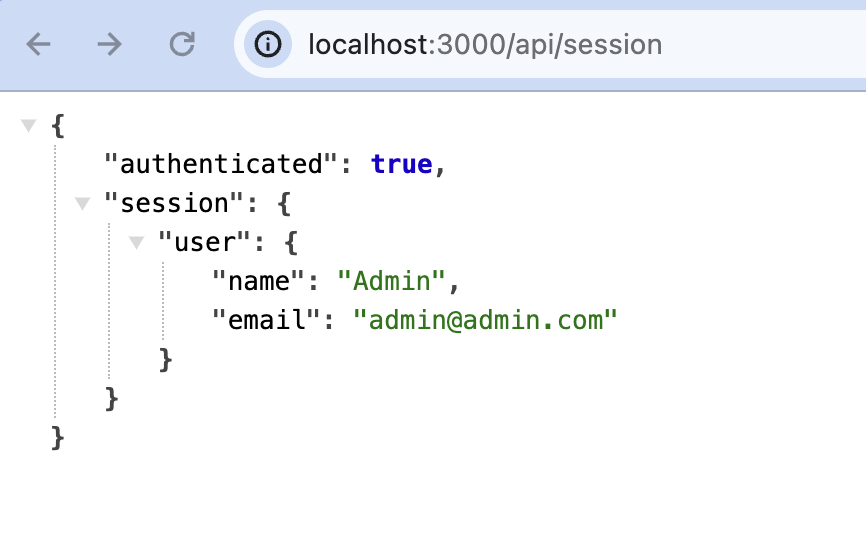
Now navigate to http://localhost:3000/api/session, and you will see the following, which means you got the session in Route Handlers successfully.
Get the session in a Client Component
If you want to get the session data in a client component (marked with use client), you can use the useSession hook. Please note that if you would like to fetch the session on the client side, there might be a latency as the server needs to decode the JWT token NextAuth stored. However once the data is stored in the provider, subsequent requests will be fast and seamless.
We will first create a session provider:
Create /src/app/providers.tsx file and paste in the following:
"use client";

import { SessionProvider } from "next-auth/react";

type Props = {
  children?: React.ReactNode;
};

export const Providers = ({ children }: Props) => {
  return <SessionProvider>{children}</SessionProvider>;
};
Then we want to wrap this the site with this session provider. Modify /src/app/layout.tsx:
import "./globals.css";
import type { Metadata } from "next";
import { Inter } from "next/font/google";

const inter = Inter({ subsets: ["latin"] });

import { Providers } from "@/app/providers"; // add this

export const metadata: Metadata = {
  title: "Create Next App",
  description: "Generated by create next app",
};

export default function RootLayout({
  children,
}: {
  children: React.ReactNode;
}) {
  return (
    <html lang="en">
      <body className={inter.className}>
        <Providers>{children}</Providers> {/* warp children elemnts with Providers */}
      </body>
    </html>
  );
}
Now you can use useSession hook inside a client side component like this:
Create /src/components/user.tsx:
"use client";

import { useSession } from "next-auth/react";

export const User = () => {
  const { data: session } = useSession();

  return (
    <div className={"flex flex-col gap-2"}>
      <h1 className={"font-bold"}>NextAuth.js Client Session data</h1>
      <pre>{JSON.stringify(session, null, 2)}</pre>
    </div>
  );
};
Add an import to /src/app/page.tsx:
import {
  LoginButton,
  LogoutButton,
  ProfileButton,
  RegisterButton,
} from "@/components/buttons";
import { User } from "@/components/user"; // add this

import { getServerSession } from "next-auth";
import { authOptions } from "@/lib/auth";

export default async function Home() {
  const session = await getServerSession(authOptions);

  return (
    <main
      className={
        "flex flex-col items-center justify-center min-h-screen py-2 gap-8"
      }
    >
      <div className={"flex flex-row gap-4"}>
        <LoginButton />
        <RegisterButton />
        <LogoutButton />
        <ProfileButton />
      </div>


      <div className="flex flex-col gap-2">
        <div className={"flex flex-col gap-2"}>
          <h1 className={"font-bold"}>NextAuth.js Server Session data</h1>
          <pre>{JSON.stringify(session, null, 2)}</pre>
        </div>
        <User /> {/*add this*/}
      </div>
    </main>
  );
}
Now check the browser, you will see one server session data, and one client session data.
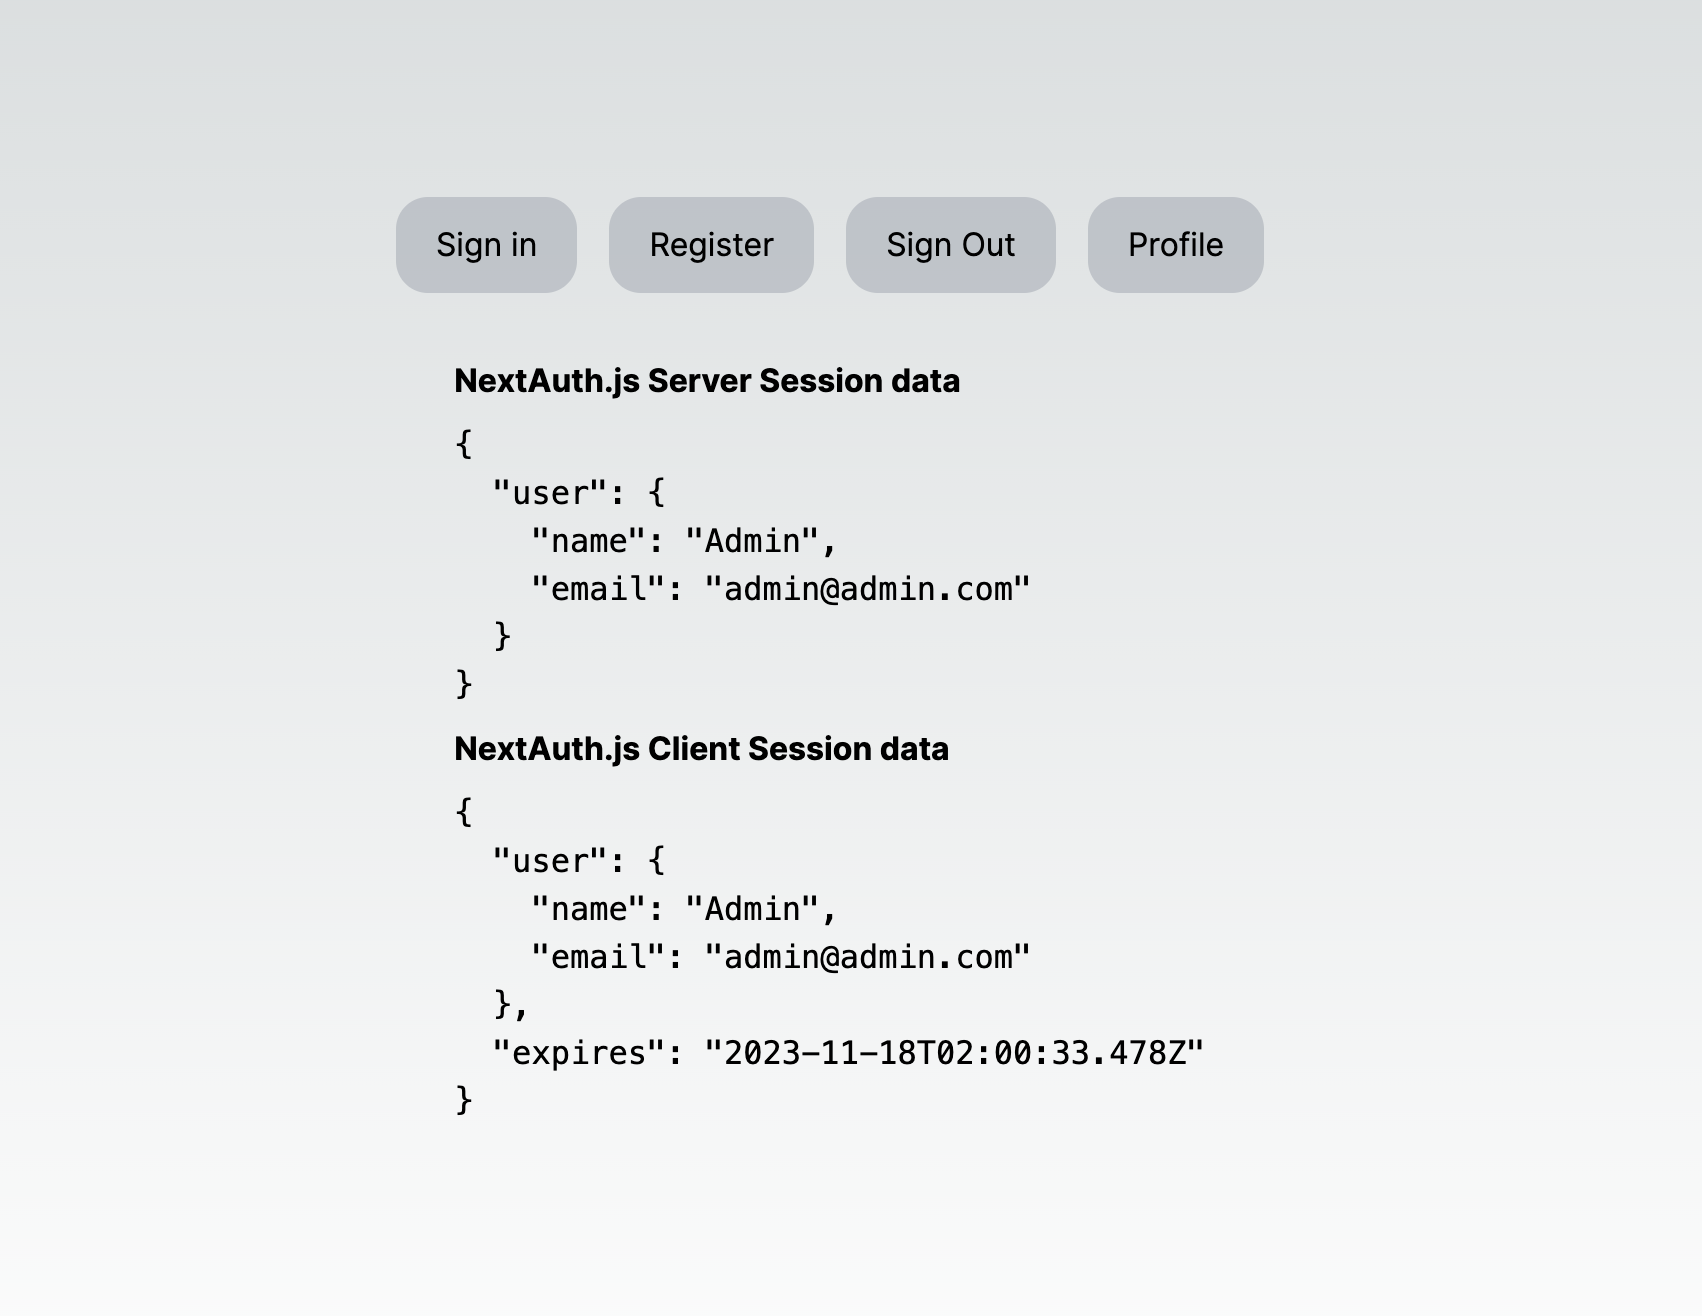
💡 Notice when you refresh the page, the client one will take a while to appear.
To solve this, you can add a skeleton placeholder loading animation. You can use shadcn/ui for this.
Conclusion
That’s it! The fundamentals for NextAuth with Next.js 13. If you wish to know more, for example, how to integrate database / handle register logic / use other providers. Please follow or subscribe to my newsletter. I will let you know as soon as possible when I finish writing.
Thanks for reading!