This detailed tutorial provides a step-by-step guide on how to create and configure a Hexo Personal Blog using Github+Vercel.
Introduction to Hexo

Hexo
Hexo is a widely used blogging framework favored by many bloggers as an alternative to WordPress or Typecho. Reasons for this preference include its speed, stability, and the fact that it can be deployed in a variety of free environments.
Key Advantages of Hexo:
- Free and stable platform
- Minimal effort required for maintenance
You can learn more about Hexo here. If you prefer to use Hugo as a framework, this tutorial is still applicable.
The Plan
The workflow we'll follow involves placing Hexo files on GitHub. Vercel will then automatically pull these files and deploy them.
Installation Guide
Step 1: Account Preparation
First, you need to sign up for a GitHub account. Afterward, head over to Vercel and register using your GitHub account. This integration will enable you to view your GitHub repositories in Vercel.

Step 2: Create a Hexo Repository
Click on the button below to automatically create a Hexo blog on vercel:
The Git Scope should be your Github account username. You can customize the REPOSITORY NAME to your preference. Remember to keep the repository Private for security.
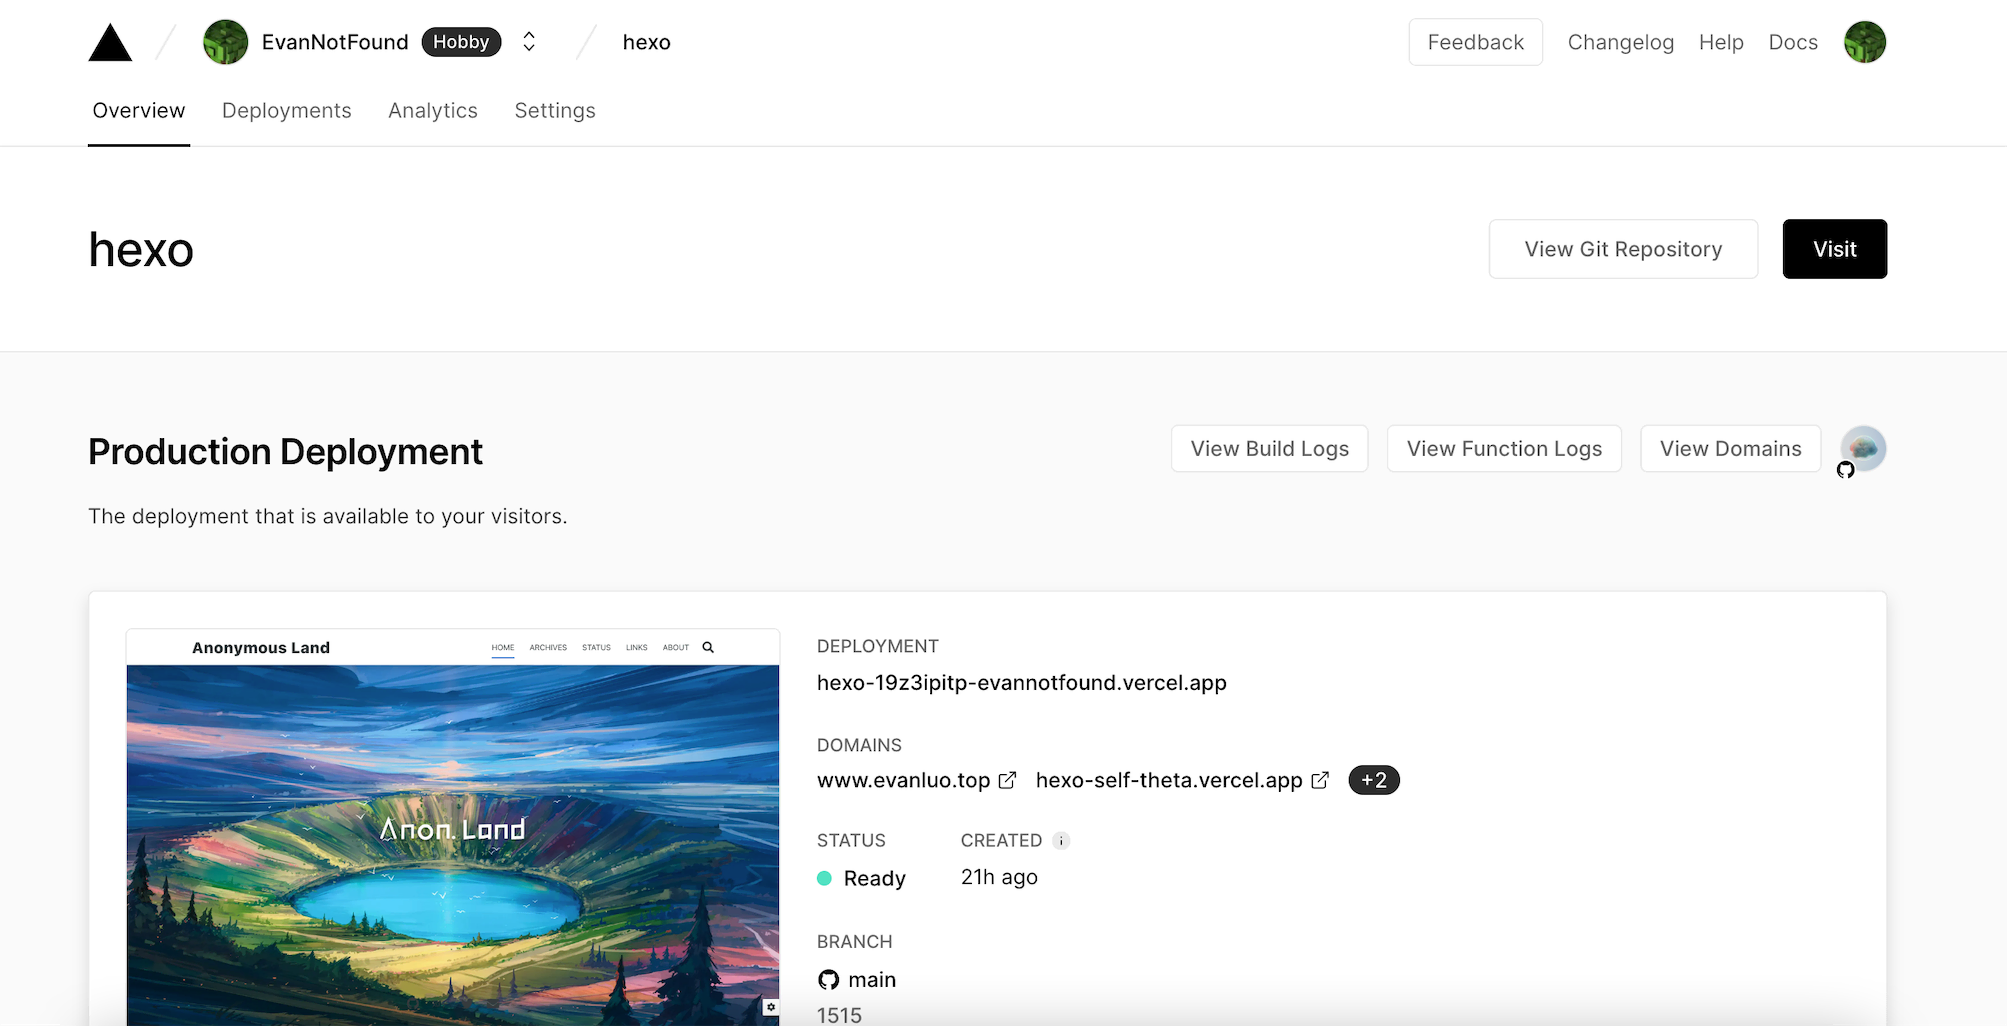
Upon completion, click Create. You will now have a unique Hexo domain "vercel.app". This will be useful for debugging purposes.
Vercel will be linked to the repository you just created on GitHub. Vercel will automatically deploy any changes made to the repository.
For long-term use, we recommend using your own domain. For domain registration, we suggest using Namesilo.
Step 3: Debug Locally
For convenience and efficiency, we advise installing the Hexo environment for local debugging.
Environment Configuration
You'll need to download and install Git and Node.js. You can get these from their official sites: Git and Node.js.
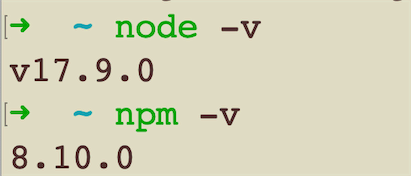
To verify your environment, open Terminal for macOS users or Git bash for Windows users, and type in the following commands to check the versions:
$ node -v $ npm -v
If the versions display correctly, you've successfully installed Node.js.
Config Hexo Environment
Next, install Hexo-cli by typing the following command:
$ npm install -g hexo
Once the installation is complete, you'll see a message displaying the Hexo version, indicating a successful installation.
Upload Method Configuration
We provide two ways to push your changes, you can choose either git or Github Desktop.
Github Desktop is easier to use and configure, so it is recommended.
GitHub Desktop
Go to the Github official website to download and install Github Desktop.
After installation and logging into your GitHub account, you will see the following interface:
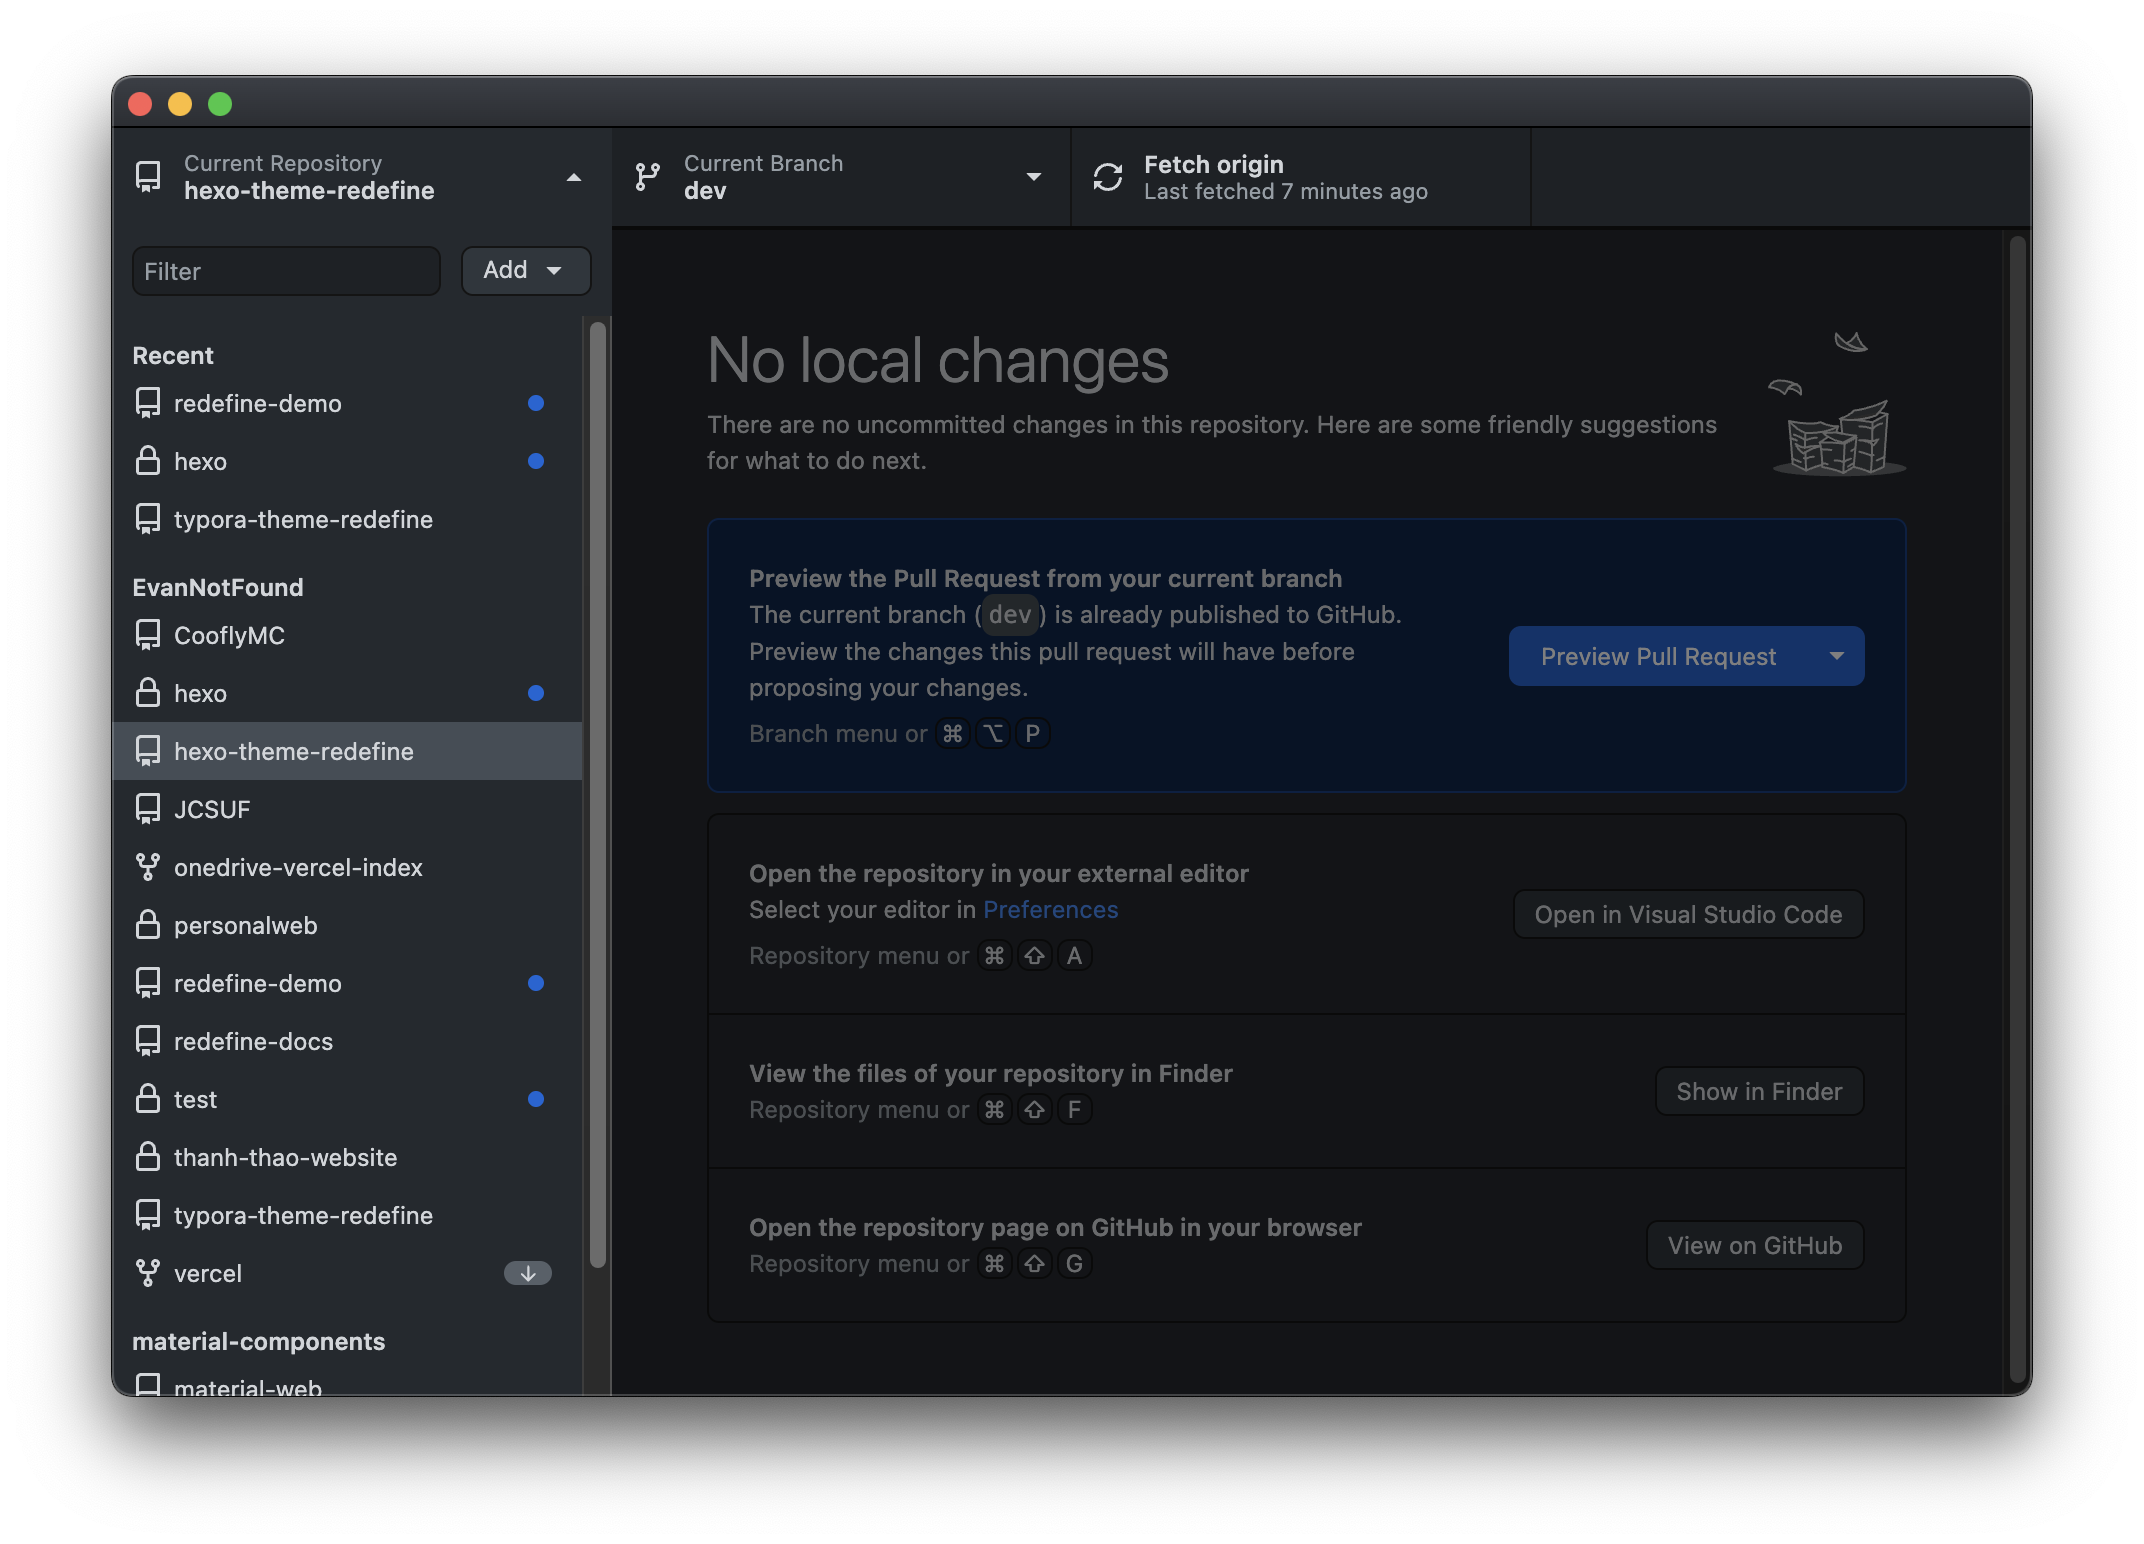
Click on the top left corner, click Add to add a new project, select Clone repository, select the Hexo repository you created earlier, then click Clone to clone the repository to your local machine.
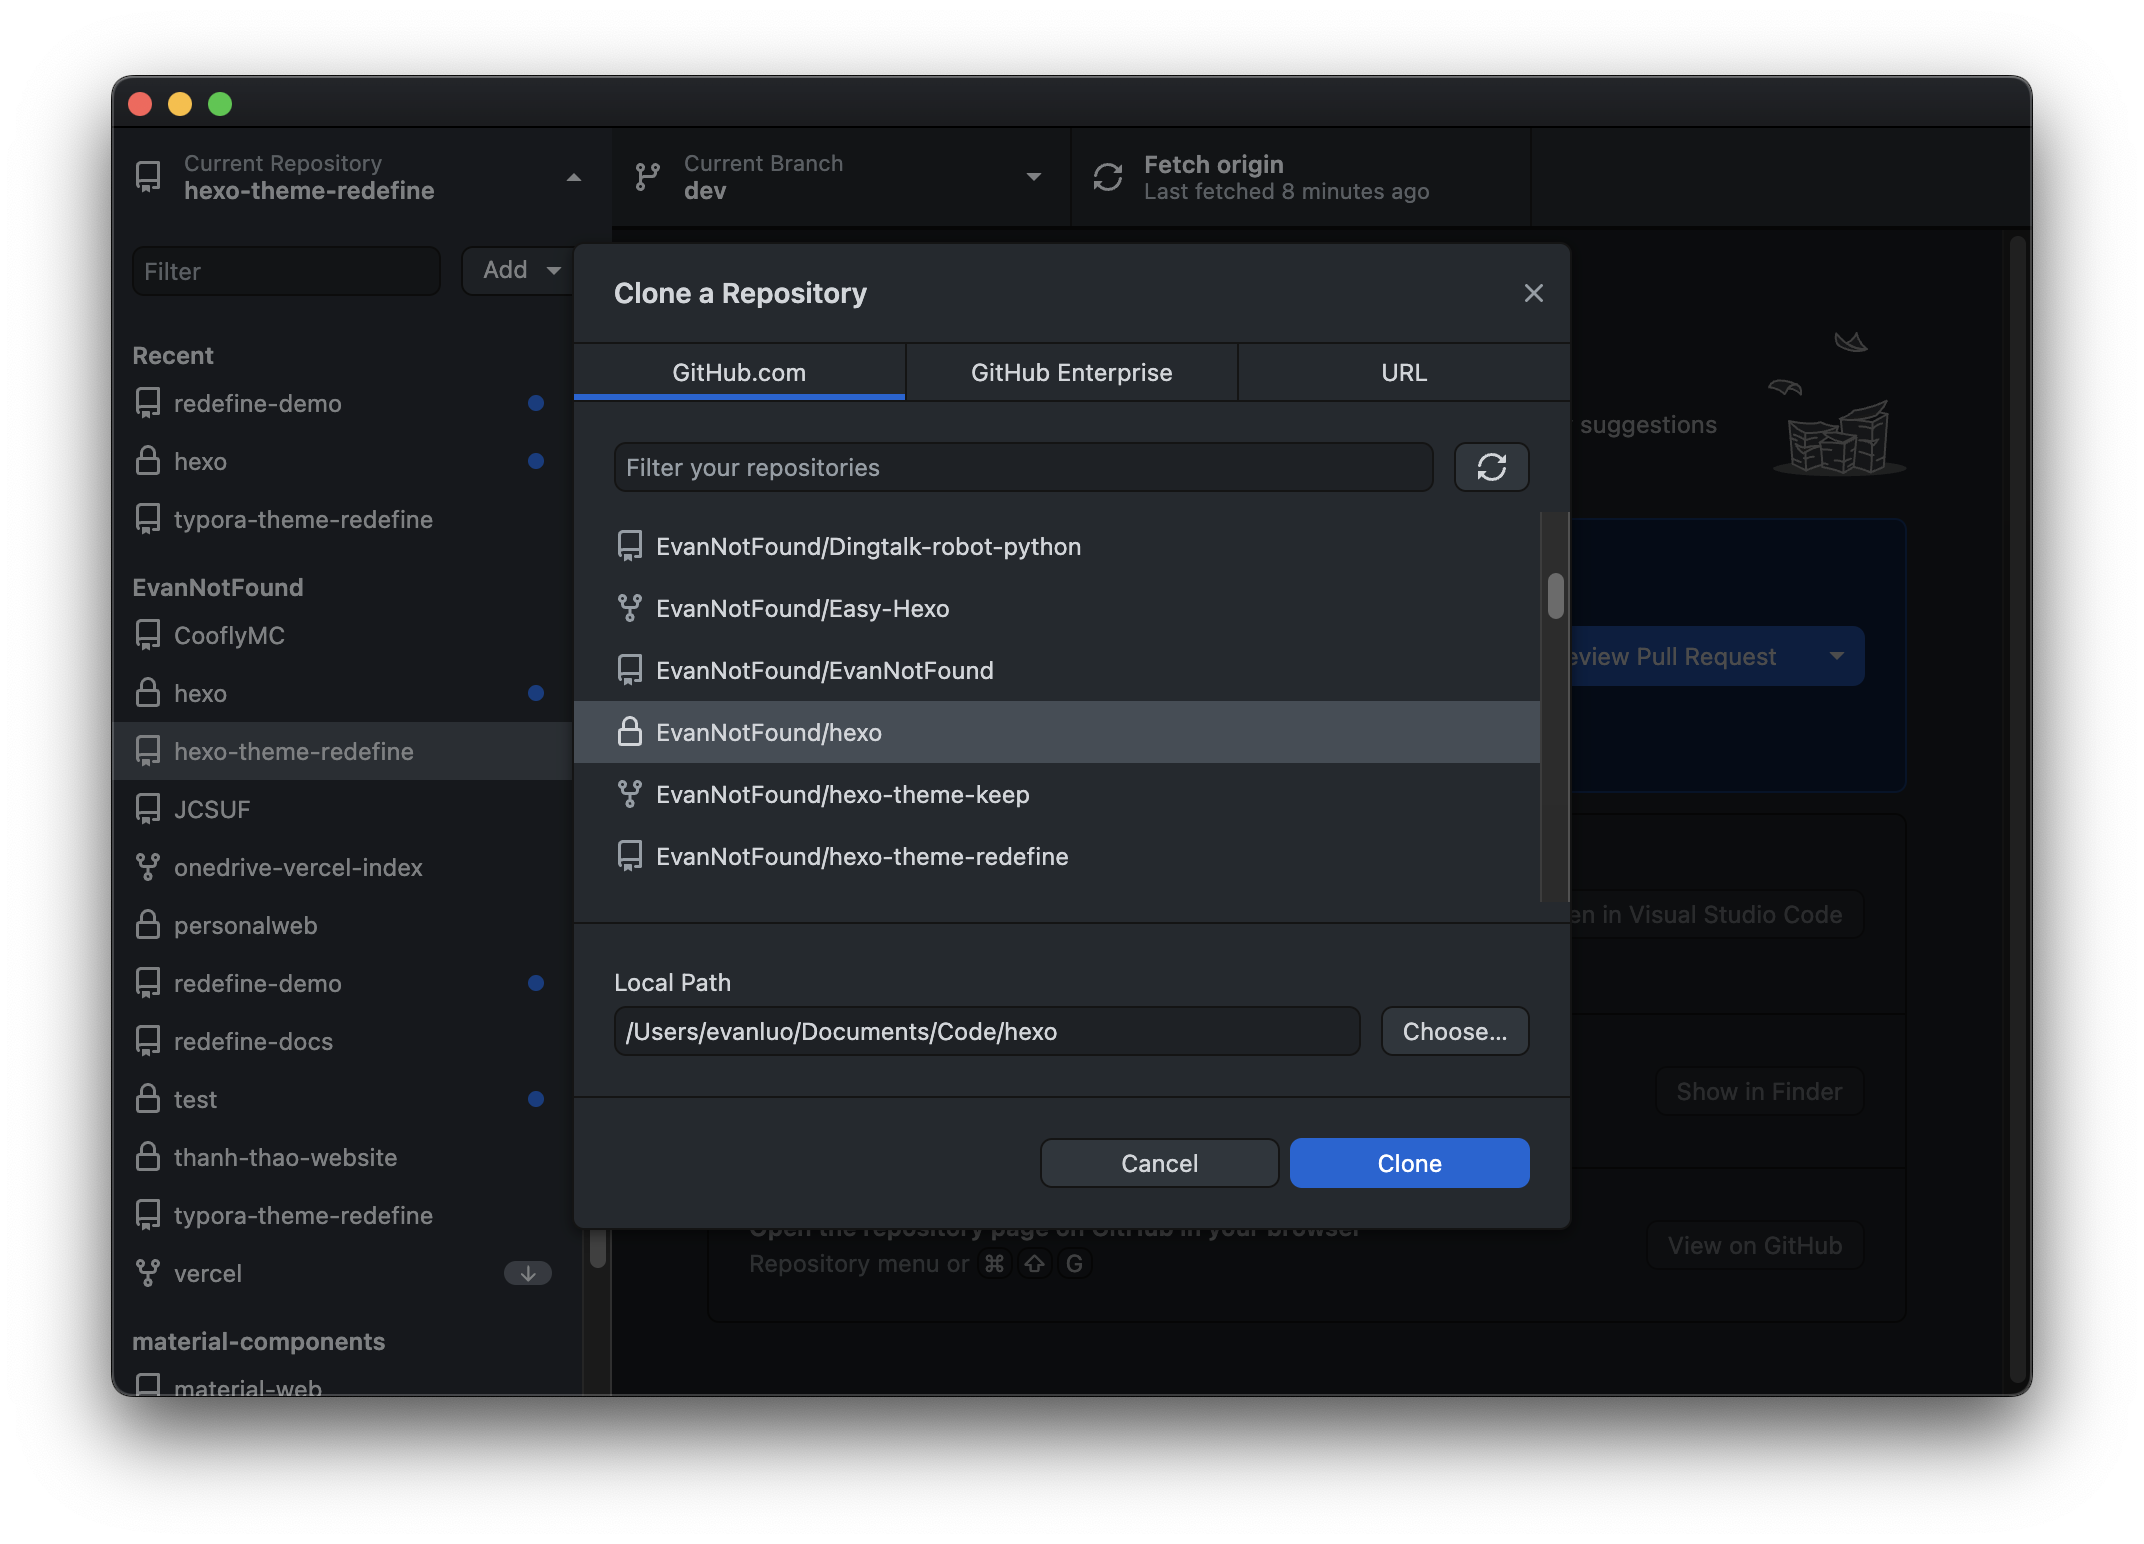
Next, you can find your project's folder in the file address displayed in the Local Path.
Git Method
First of all, install Git. You can download and install it from the Git official website.
After installing, the next step is configuration verification.
For macOS users, please open Terminal.For Windows users, please open
Git bash.
Check the Git version with the following command:
git -v
If a version number is displayed, this means the configuration is successful.

Next, configure GitHub & SSH key
For macOS users, please open Terminal.For Windows users, please open
Git bash.
Open Git Bash, run the following command:
ssh-keygen -t rsa -C "your email address"
Press enter 3 times, and the command line will display the directory address of the public and private key data.
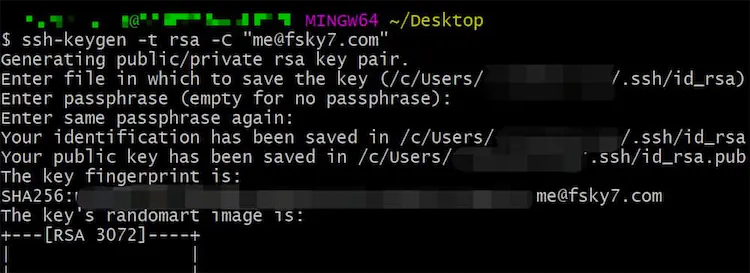
Find the directory of the id_rsa.pub file, open it with a text editor (like VScode or Notepad), and copy all the content inside.
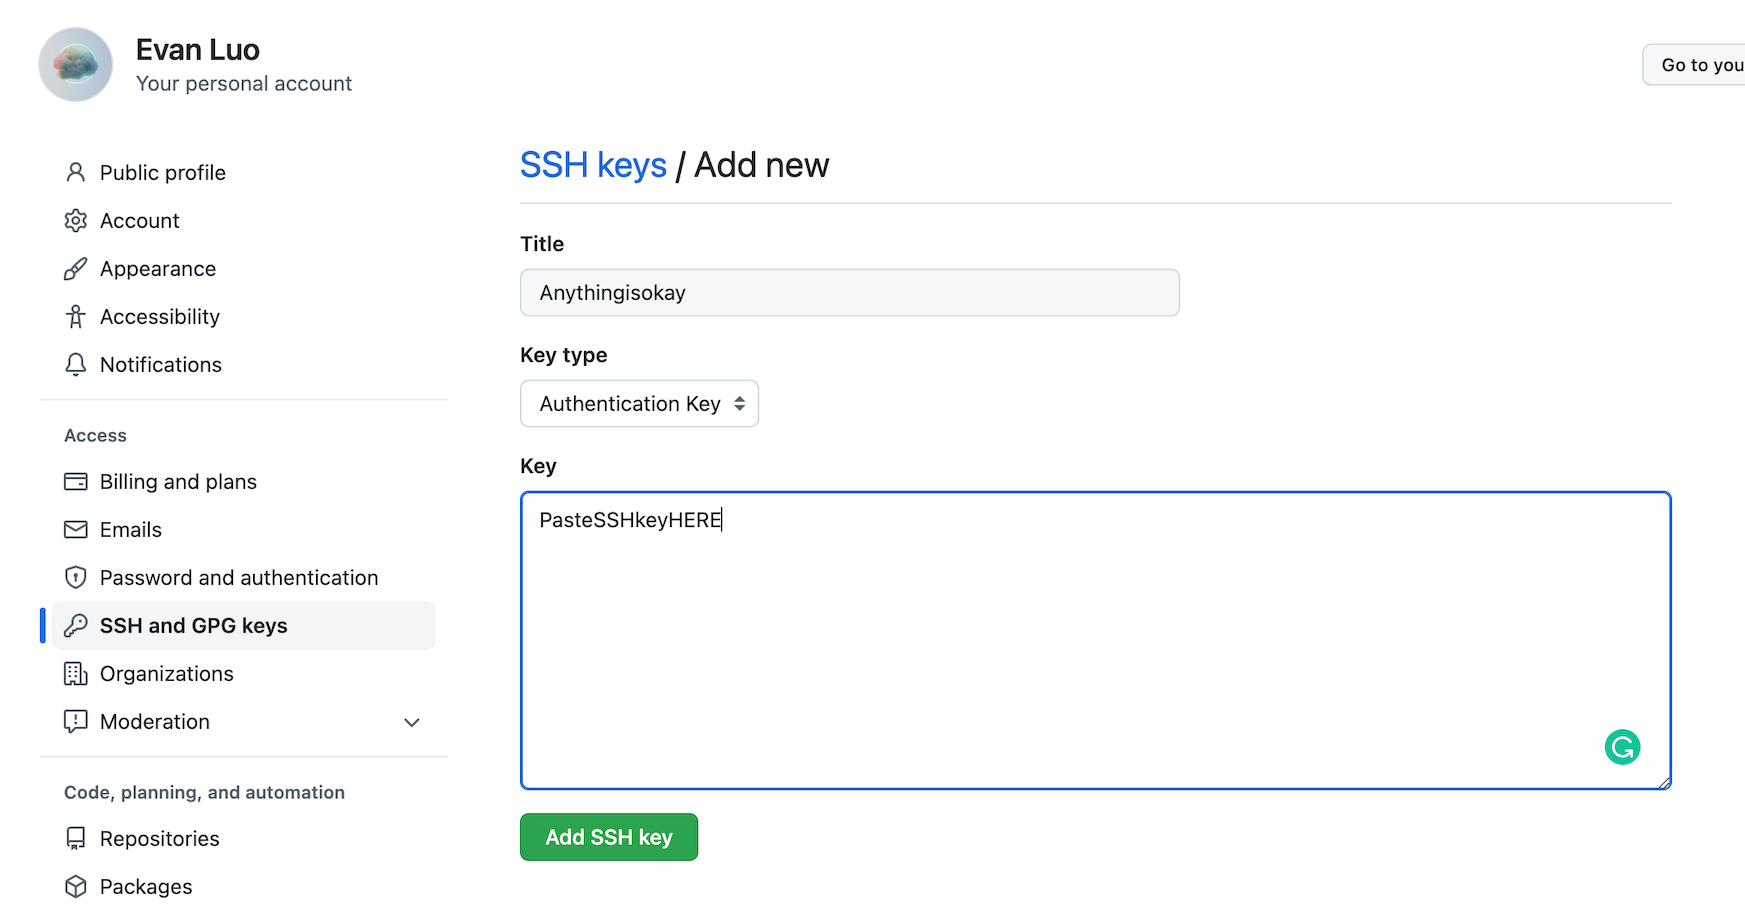
Go to GitHub -> Settings -> SSH and GPG keys -> New SSH key, or follow this direct link: here
Paste the content you just copied into the Key field, fill in your preferred Title, and click Add SSH Key.
Next, set up Git
Run the following commands in the terminal:
git config --global user.name "your GitHub username"
git config --global user.email "your GitHub registered email address"
Verify successful configuration
ssh -T git@github.com #you don't need to change the email address here
If the prompt Are you sure you want to continue connecting (yes/no)? appears, enter yes and press enter.
If you see
Hi [your Github username]! You've successfully authenticated, but GitHub does not provide shell access.
This means you have succeeded, and the local environment configuration is complete.
Clone the GitHub Repository
Go to your repository on Github, then click Code and copy the link under HTTPS.
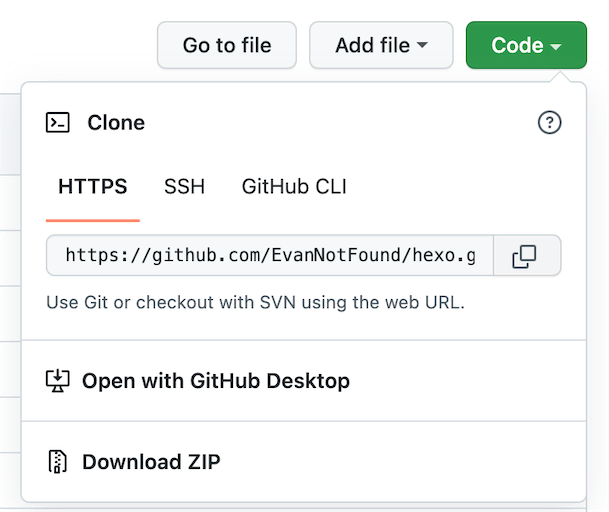
First, cd into the folder where you plan to place your blog, and then use the following command to clone your hexo repository to your local machine:
git clone paste your link here
Like this:

For private repositories, cloning may require your Github account and password.
At this point, when you enter your Github password, an error message will appear. This is because Github has already closed Password Login Support.
So please go to Github -> Settings -> Developer Settings -> Personal Access Token to create a token. Direct link: here
Name is arbitrary, set the expiration to No expiration, and check repo
As shown in the picture

After you have created it, copy this Token and save it well, as this Token will only be displayed once.
Now you can continue to log in to your account in the command line.
Your account is your Github email.Your password is the Token you just copied.
Use Guide
For a comprehensive guide on using Hexo, check out the official Hexo use guide [here].
Step 1: Install a Theme
To install a theme, find one you like on Github and follow the installation guide in the README.md file.
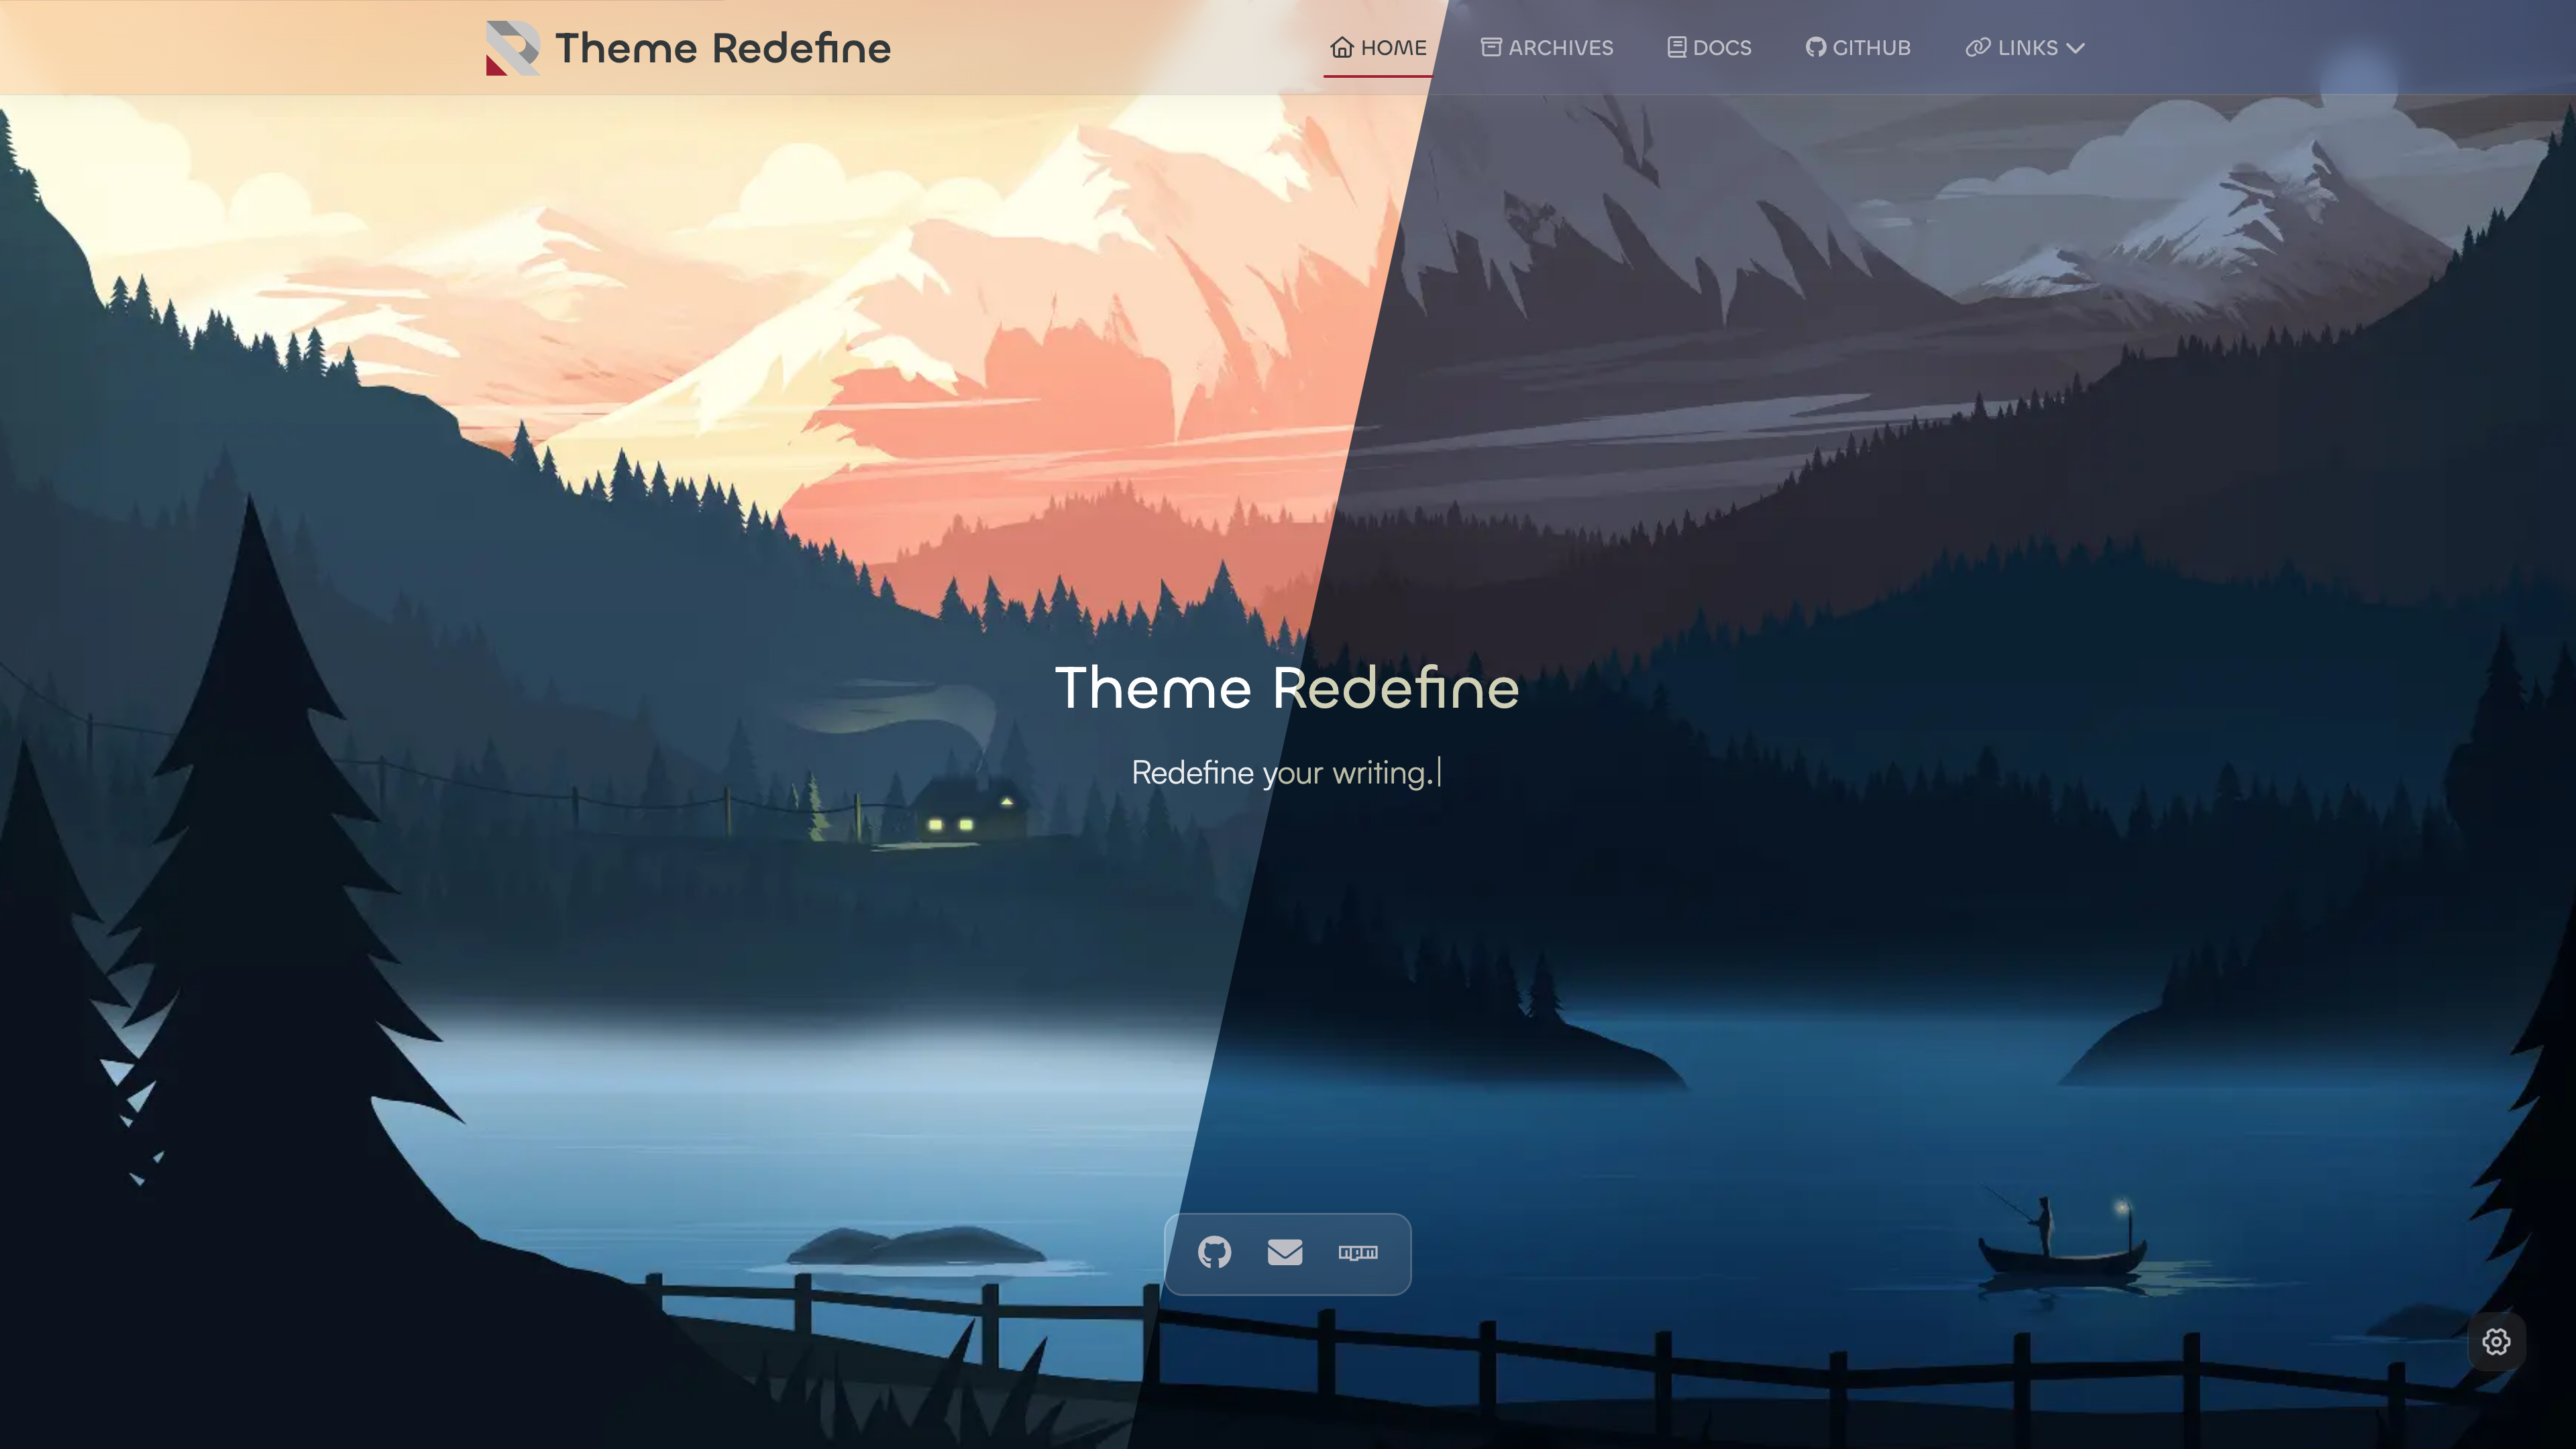
This is my theme: https://github.com/EvanNotFound/hexo-theme-redefine. Feel free to check it out!
Step 2: Install Plugins
Plugins can be found on the Hexo official site or Github. Follow the plugin's installation guide.
- Conclusion
Hexo Blog is an excellent choice for those who enjoy customizing their blogs. If you encounter any issues during the installation, please feel free to contact me at contact@ohevan.com.
If you found this tutorial helpful, please leave a comment. Your feedback is appreciated. Thank you for reading!